- DIY misAdventures
- Posts
- Breathtaking Wood and Epoxy Home Decor Ideas Made Easy with a CNC Machine
Breathtaking Wood and Epoxy Home Decor Ideas Made Easy with a CNC Machine
Transform your home with stunning wood and epoxy resin projects using your CNC machine. Discover the most popular creative ideas, step-by-step tutorials, and expert tips for most trending home decor pieces.
Petr Šulek
November 16, 2024
Did you know that CNC machines have become the hottest tool in home workshops, with a mind-blowing 345% increase in sales just last year? As someone who's been combining CNC precision and epoxy artistry for years, I can tell you - this explosion in popularity isn't just hype!
In this guide, I'm going to walk you through everything you need to know about creating gorgeous wood-epoxy pieces using your CNC machine. We'll cover material selection, essential techniques, and step-by-step instructions that actually work. Whether you're dreaming of a show-stopping river table or intricate inlaid shelves, I've got you covered.
The timing couldn't be better - wood-epoxy combinations are trending hard in home decor right now. People are moving away from mass-produced items, searching for pieces that tell a story. The natural warmth of wood grain combined with vibrant, flowing epoxy creates stunning focal points that transform any space.
The best part is that CNC machines make these projects accessible to everyone. Gone are the days of wobbly hand-routing and inconsistent results. With a CNC machine, you can achieve incredibly precise cuts and patterns that would be nearly impossible by hand, at least for me. Even as a beginner, you can tackle complex designs with confidence, knowing you'll get professional results every time.

Table of Contents
What Makes This Guide Different
What makes this guide different? First, you're getting proven methods that consistently deliver stunning results. I've already made (and fixed) all the common mistakes, so you don't have to! Every measurement and setting I share has been tested repeatedly for success.
My workflow has been optimized through real-world experience, combining efficiency with reliability. You won't find these time-saving techniques elsewhere - they're born from hours of workshop experimentation and problem-solving.
Best of all, I'm sharing original approaches to combining CNC and epoxy that I've refined myself. These aren't recycled tips from other makers; they're innovative solutions I've discovered through hands-on experience, refined to achieve professional-quality results every time.
My old routing set-up
Why Choose Epoxy Inlays for Your CNC Projects
Endless Color Possibilities
Epoxy inlays are a game-changer for CNC projects, and here's why I'm absolutely obsessed with them! First off, the color possibilities are literally endless. Want a deep ocean blue with subtle pearl effects? Or maybe a transparent amber with metallic swirls? You can create any look you imagine! I've spent countless hours experimenting with color combinations, and let me tell you - the results can be breathtaking.
Creating Depth Through Layers
But it gets even better when you start playing with layers. This is where the magic really happens! By combining multiple pours with different transparencies, you can create incredible 3D effects that seem to float within the wood. I love how light interacts with each layer differently, creating depth that changes throughout the day as sunlight moves across your piece.
Achieving High Detail
The real superstar here is the precision you get with CNC-carved pockets. We're talking crisp, clean lines that would be nearly impossible to achieve by hand. You can create incredibly detailed patterns - think delicate mandalas or intricate geometric designs - and know that every pocket will be exactly the right depth for your epoxy pour. Plus, with different texturing options for your carved areas, each piece can have its own unique character.
Stunning Wood-Epoxy Project Ideas for Your Home
Ready to transform your home with some jaw-dropping wood-epoxy creations? Let me share my favorite project ideas that consistently wow everyone who sees them!
Inlayed river tables and coffee tables are absolute showstoppers. Imagine intricate CNC-carved channels filled with shimmering epoxy that looks like a flowing river caught in time. I love creating geometric patterns that intersect with natural wood grain - it's like modern art meets nature!

Inlayed tensegrity flying coffee table
Wall art and decorative panels are perfect for making a statement. My clients go crazy for topographical maps where each layer is highlighted with different colored epoxy. Or try mandala patterns where transparent epoxy creates a stunning stained-glass effect.

Wooden art with ambient light
For practical pieces with pizzazz, you can't beat serving trays and cutting boards. I recently made one with a wave pattern filled with deep blue epoxy - it looks like you're serving drinks over ocean waves! Just remember to use food-safe epoxy for these.

LED-integrated pieces take things to another level. By combining clear epoxy with LED strips in CNC-carved channels, you can create pieces that literally light up the room. Mountain scenes with glowing "northern lights" are always a hit!

Clock faces, floating shelves or entryhall hangers combine function with art. Think spiral patterns with metallic epoxy for clocks, or hidden LED channels in shelves that cast a subtle glow.

Custom signs become conversation pieces when you add epoxy elements. Try using glow-in-the-dark epoxy for house numbers or business logos - they're practical and stunning!
Beginners Epoxy Casting Tutorial
If you're just beginning your journey into the world of epoxy casting and are eager to learn the basics, I highly recommend checking out my previous articles. These starter tutorials are designed to provide:


Essential Tips for Wood-Epoxy CNC Projects
Let me briefly share the essential tools and materials for this type of wood-epoxy projects.
For your CNC machine, you'll want at least a 24" x 24" work area for most home decor projects. I ended myself with a 1.5kW spindle - it's the sweet spot for power and precision. Look for a machine with good dust collection ports and reliable depth control. For bits, you'll need a 1/4" flat end mill for general pockets and a 1/8" or smaller for detailed work.

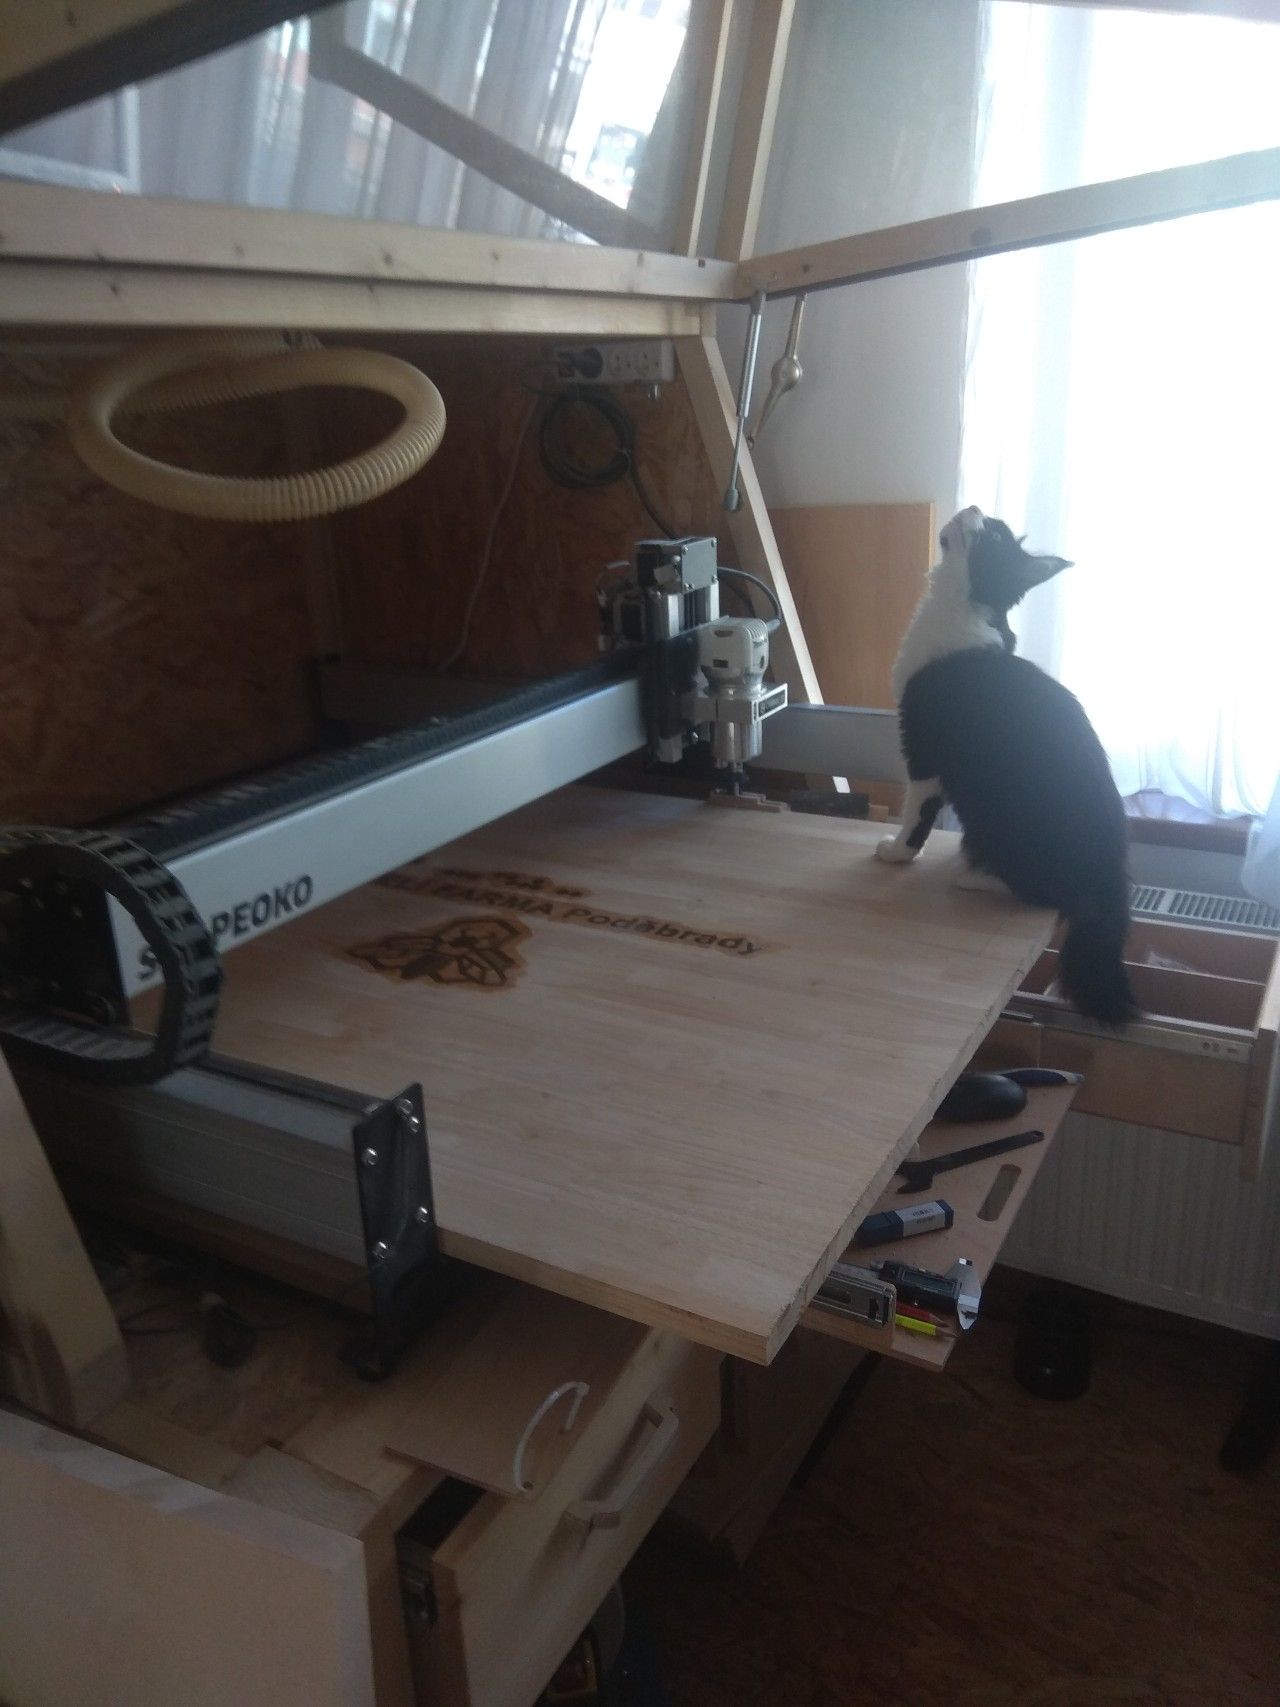
My Shapeoko XXL 2 CNC
When it comes to wood selection, hardwoods are your best friends. Maple, walnut, and oak are my go-to choices because they have tight grain patterns that resist epoxy bleeding.
Tip: always keep wood moisture content below 12% - invest in a moisture meter, it's a project-saver!
For epoxy, don't skimp! Look for deep-pour formulas with at least a 72-hour pot life. They give you plenty of working time and allow bubbles to escape naturally. Crystal-clear epoxy is essential for colorful projects - I've found the premium brands are worth every penny.
Understanding the Basics Tricks of Wood-Epoxy Inlays
Let me break down the essential basics of wood-epoxy projects - this is the foundation that will make or break your success!
The interaction between wood and epoxy is fascinating but tricky. Wood is like a sponge with thousands of tiny channels that can either be your friend or foe. The key is proper sealing - I always apply a thin coat of epoxy to the carved areas first. This prevents air bubbles from sneaking up through the wood grain and ruining your pour. Trust me, I learned this one the hard way!
When designing your pieces, always consider the epoxy depth. I've found that pockets should be at least 1/6 inch (4 mm) deep for good adhesion. The maximum depth depends on your level of detail and V-bit angle. I do not go over 1/2 inch (12 mm).
For CNC file preparation, design your pockets with slight angles (15-30°) using a V-bit for easier epoxy release. Keep your toolpaths simple at first - complex patterns might look great in CAD but can create weak points in your piece. Always do a test cut in scrap material first!
Complete Step-by-Step Guide: From Raw Wood to Perfect Inlay
Let me walk you through my proven process for creating perfect wood-epoxy inlays. I've refined these steps through hundreds of projects, and they consistently deliver amazing results!
Project Planning
Start with your design in vector format, keeping in mind that simpler patterns are more forgiving for your first projects. Select wood that's been properly kiln-dried - I prefer maple or walnut for their stability. Ensure your CNC bits are sharp; I recommend a 15-30° V-bit for details, 1/4" or 1/8” flat end mill for main pockets if needed. Set up your workspace with good lighting and ventilation, and lay out all tools before starting.

Prepared fine inlay routing job
Base Material Preparation
First things first! The secret to perfect inlays starts with dead-flat, consistent thickness material. Run your board through a planer or use a router sled to get both faces perfectly parallel.

Rough oak hard wood prepared for the project
Inlay Routing Process
Zero your CNC with extra care - accuracy is everything here. I run at 60% of normal feed rates for cleaner cuts. Start with a roughing pass at 75% depth, then finish with a climb cut for clean edges. Always watch the first few passes to ensure proper chip evacuation. For deep pockets, use multiple passes, removing no more than 1/8" per pass.
Tip: Even the sharpest bit won't prevent all wood chipping (especially at very fine detail levels), but it helps tremendously. Keep fresh bits on hand for those intricate patterns!

Routing … No space for errors now
Cut Cleaning and Casting Preparation
Use compressed air to remove all dust, but be careful around edges. Clean every nook with a soft brush, then inspect edges with good lighting. Any fuzzy edges must be cleaned up by hand with a sharp chisel or knife. Light sanding with 220 grit prepares surfaces for sealing.

Cleaned inlay pocket
Grain Sealing Process
This is your insurance against bubbles! Apply thin epoxy seal coat using a small brush. Let cure for a few hours. Pay special attention to edges where grain is exposed. Burst all air bubbles in the sharp corners. Allow 12 hours minimum before main pour.
Tip 1: Always use clear epoxy for your seal coat, even if your final pour will be colored. This prevents any unwanted tinting of the wood around your inlay edges where the epoxy naturally seeps into the grain. Trust me - nothing ruins a crisp design faster than colored epoxy bleeding into your wood!
Tip 2: For optimal time efficiency, I use a rapid 24-hour curing epoxy for the first seal coat. This lets me move faster through the sealing process since this layer is super thin.

All corners sealed
Epoxy Inlay Pour
Mix epoxy precisely - I use a digital scale for perfect ratios. Warm resin and hardener to 75°F before mixing for better flow. Pour in stages for complex patterns, starting from deepest areas. Use a heat gun briefly to pop surface bubbles with focus on corners. For color layers, let each cure until tacky before adding next.
Remember: temperature control and patience are your best friends throughout this process. Never rush curing times, and always do test pieces before important projects!
Tip 1: Overfill your inlay slightly, as epoxy shrinks during the hardening process. This ensures a perfectly level surface in your final piece.
Tip 2: Level your piece accurately, otherwise you'll end up with uneven inlay pour depths. Take the extra minute to check - it makes all the difference!

Inlay cast hardening
Rough Project Flattening
Once your epoxy is fully cured (don't rush this!), it's time to level everything. For smaller pieces, a surfacing bit on your CNC works perfectly - I use a 1" diameter flat bit with a 0.005" step-over for a smooth finish. For larger pieces, my router sled is my best friend. Either way, take light passes until your epoxy is flush with the wood surface. Don't try to get it perfect yet - we'll handle that in the sanding stage.

Project ready for sanding
Final Sanding and Polishing
Start with 120 grit to level surface, then progress through 180, 240, 320, 400, and 600. Switch to wet sanding for 800 through 2000 grit. Use random orbital sander for open areas, hand sand near edges. Finish with polishing compound for glass-like shine. Don't rush this stage - each grit removes scratches from previous one.

Surface Protection and Finishing:
The final step is crucial for long-lasting beauty! After polishing, clean the surface thoroughly with mineral spirits. Once completely dry, apply Osmo or Rubio Hard Wax Oil using a lint-free cloth - thin coat is key here! I prefer the Satin finish, but Clear Matte works beautifully too.
Tip: Hard Wax Oil not only protects but also brings out the contrast between wood and epoxy beautifully. Plus, it's easy to touch up if needed - no need to strip and refinish like with traditional finishes!

Finally….
Advanced Techniques and Special Effects
Ready to level up your wood-epoxy game? Here are my favorite advanced techniques that'll make your pieces truly extraordinary. After countless experiments, these methods consistently create jaw-dropping effects!
Color mixing isn't just about dropping in pigments. I've discovered that layering different colors creates incredible depth. Start with a darker base layer, then add lighter, translucent layers above. Pro tip: mix your pigments with a tiny amount of epoxy first, then blend into your main batch for perfectly smooth color.
Metallic powders are game-changers! The trick is application timing - I sprinkle fine metallic powder between partially cured layers. This creates a floating effect that shifts as viewing angles change. Gold powder over deep blue epoxy? Absolutely stunning!
Want to really wow people? Embed LED strips in CNC-cut channels beneath clear epoxy layers. Design your CNC pockets with slight slopes so the lights reflect through the layers. I recently made a mountain scene where the "northern lights" actually shimmer through the piece.
Surface texturing adds another dimension. Try carving wave patterns that show through transparent layers, or create "islands" of textured wood surrounded by smooth epoxy. The contrast is incredible!
Conclusion
Let's wrap up this journey into the amazing world of wood-epoxy CNC projects!
I can't wait to see what you'll create! Start with smaller projects like coasters or wall art to build your confidence. Trust me - once you nail your first successful piece, you'll be hooked. There's nothing quite like the feeling of revealing that glass-like finish after your final polish.
Please, always prioritize safety - keep the workspace ventilated, and handle epoxy with proper protection, wear your respirator while sanding. These materials are amazing to work with, but they demand respect.
I'd love to see your creations! Join our growing community of makers. We're all learning and improving together, and there's nothing better than sharing tips and celebrating each other's successes.
Now, get out there and start making something beautiful! Your next stunning piece is just waiting to be created.
Reply